I decided to paint the calipers red on my wifes black coupe. After having painted the calipers on my wifes 1999 coupe, I learned some of the "lessons" involved in the task. When one of my friends came over to paint the calipers on his 1998 C5 coupe, I decided to post a step by step how-to on painting a C5 Corvette's brake calipers.
**NOTE** I performed this on a two-post lift, but the same results could be had on jack-stands. The tool list is what I used, you might be able to substitute at your own descretion.
Tools Required:
Lift the car high enough to work on the calipers while they are hanging below the chassis - the following pictures show the process done on a lift.
Remove the tire/wheel assemblies.
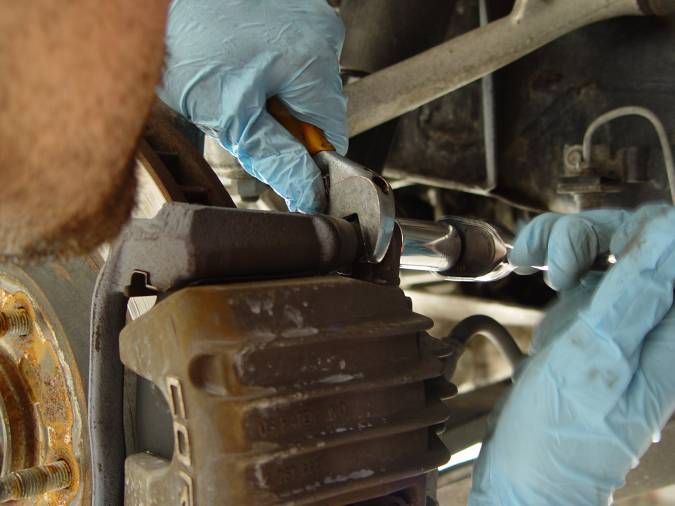
With the wheels removed, you then remove the calipers by removing the two 15mm bolts on each caliper that mount it to the caliper-mounting bracket, using the 15mm socket, 3/8 ratchet, and the crescent-wrench (or open end wrench) as shown. You will have to locate the flats on the spacer that the mounting bolt screws into. Use this flat spot to hold the spacer from turning with the crescent wrench:
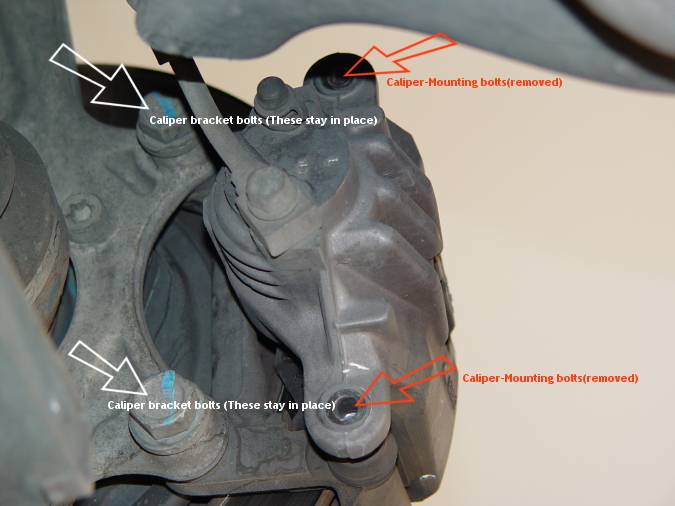
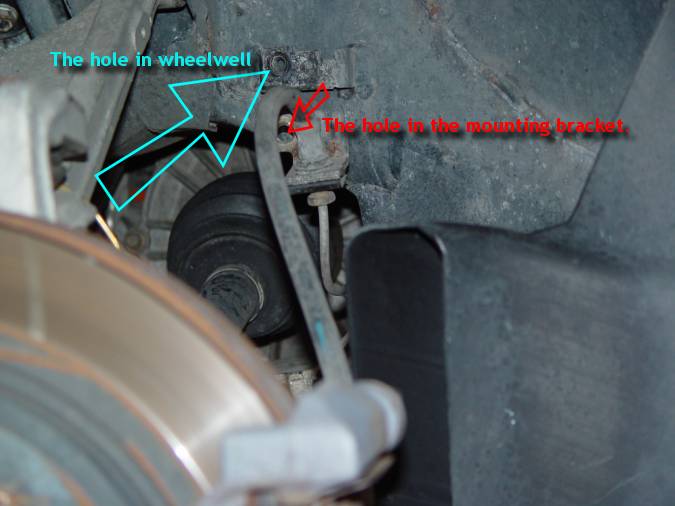
This picture shows the caliper-mounting bracket bolts , indicated with white arrows, and the caliper-mount bolt-holes, indicated with red arrows.
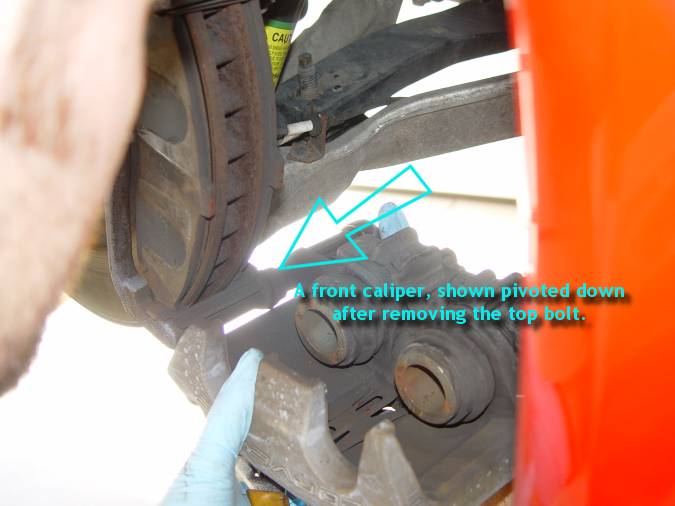
If you remove the top caliper guide-pin bolt first, the caliper flops down, allowing access to the brake pads. It is best to leave the top bolt in a few turns while you remove the lower bolt. Leaving the top bolt in steadies the caliper so you can break the torque of the lower bolt.
** NOTE ** When installing the caliper guide-pin bolts, tighten to 23 ft lbs.
On the rear calipers, the brake line is not long enough to allow it to dangle below the vehicle. Removing the 10mm bolt that holds the brake line to the inside of the wheelwell, at the point where the rubber line and the metal lines come together, allows enough slack to get the caliper hanging below the chassis.
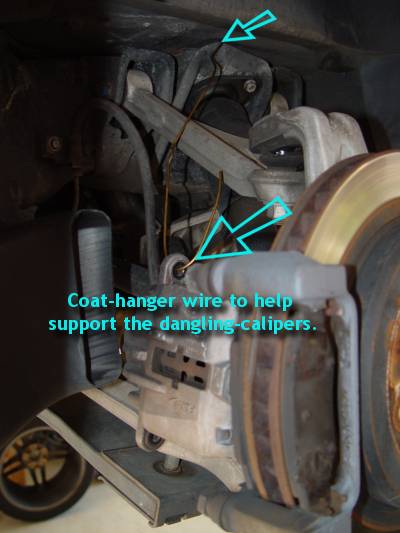
I used metal coat-hanger wire to fashion hanger-brackets to relieve the stress of hanging the calipers by the brake lines. We later decided the weight of the calipers was not great enough to cause damaging stress to the lines. This concession was instrumental in allowing us to use our "portable-paint-booth" method.
The following picture shows the use of the coat-hanger wire - as you can see, the caliper is not hanging bleow the chassis - so I ditched the coat hanger wire and let the calipers hang by the brake line.
Here are the front calipers hanging - Notice how far they hang below the car.
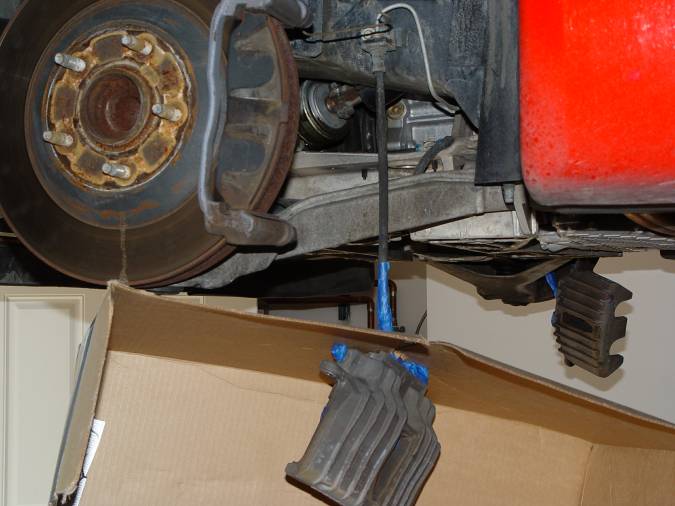
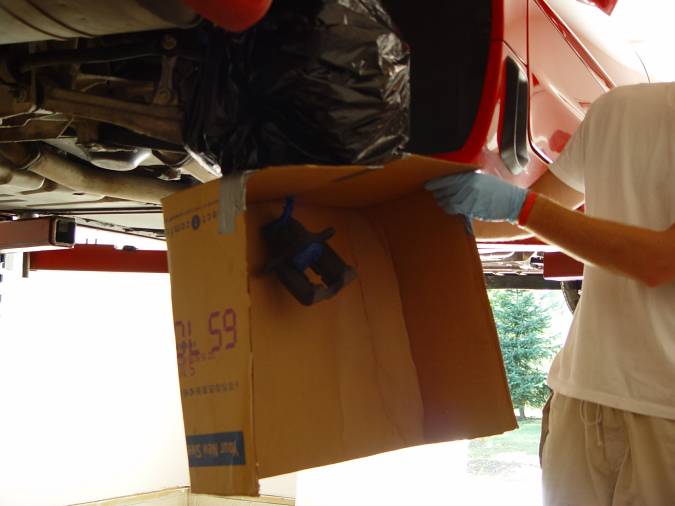
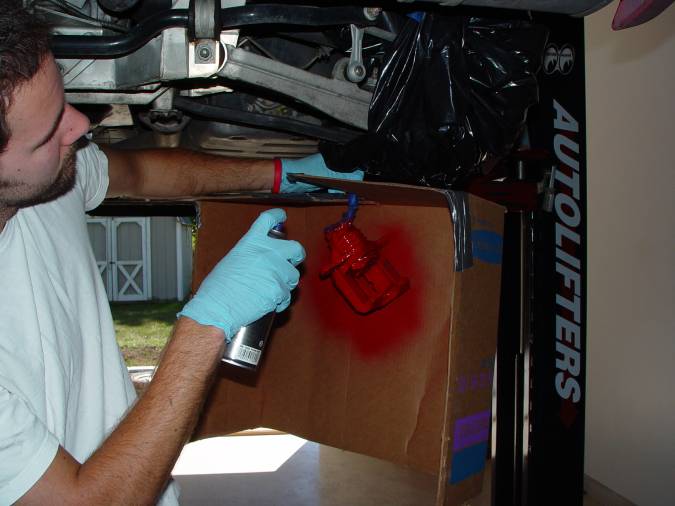
Fashion a "portable paint-booth" from a sheet of cardboard - a medium to large sized carton , flattened, will do. cut a sharp "v" into the top of the booth to allow the brake line to slide into it, thus shielding the bottom of the car from overspray.
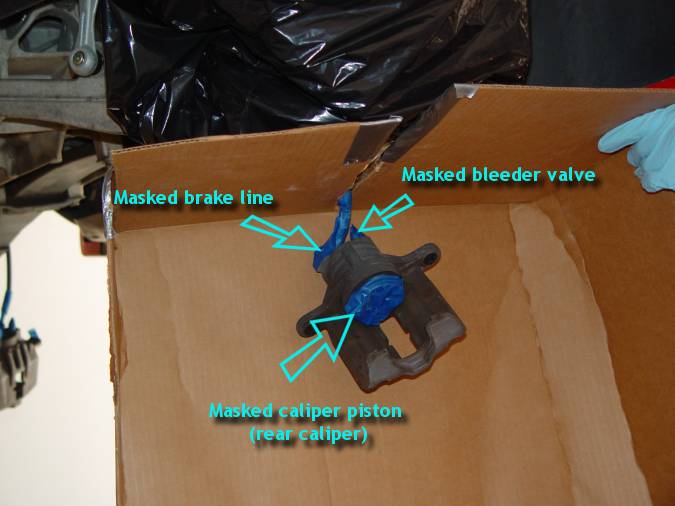
This shot shows how we chose to mask off the brake line mount, bleeder valve and the caliper piston. Take your time masking, patience here pays off big in the finished product.
Time to spray some paint! The duplicolor cans have a nice nozzle that produces a uniform, vertical fan spray pattern - perfect for smooth back and forth sprays. Apply an even coat all the way around the caliper, pivoting the portable-booth as you go. It is nice to have two persons for this step - one to spray and one to support/rotate the portable-booth.
As soon as you have done all four calipers with the first coat, return to the first-painted and re-coat it. Work your way through the calipers, applying the second coat in the same order as the first.
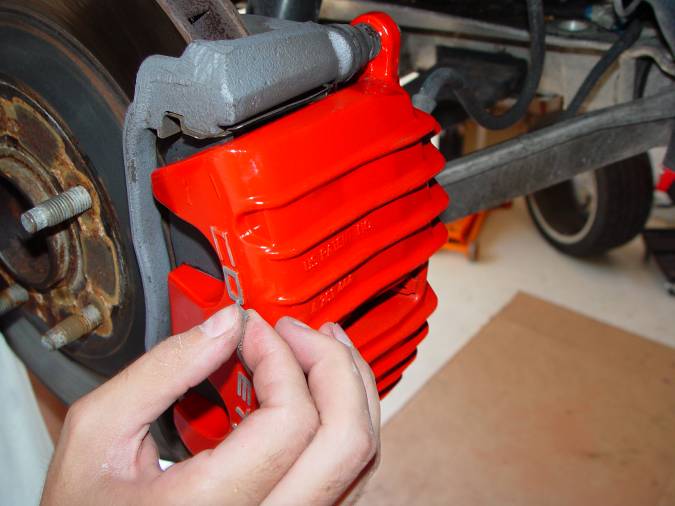
Allow about an hour for the second coat to dry before scraping the "corvette" lettering on the front calipers. We used a razor-scraper to scrape the paint from the letters. Others have had success using a sharpening stone. One fellow suggested that there are masking agents that could be applied to the lettering before painting, such as Maskol. Another suggestion was to use Chap-stick. Use whatever you think best here.
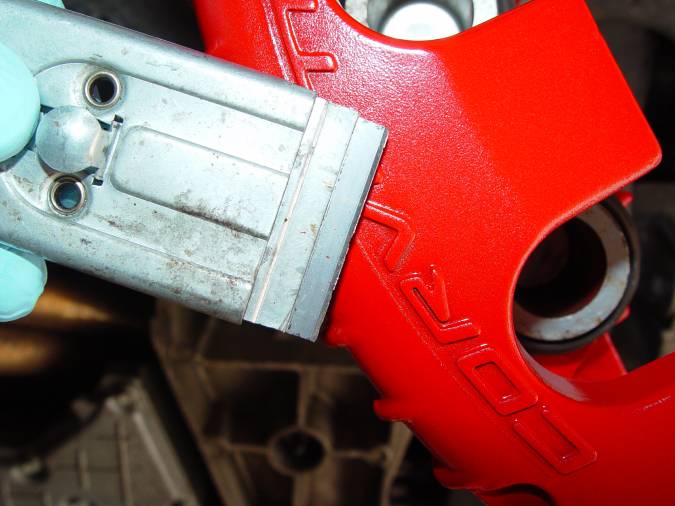
Finish the letters with fine sandpaper - we used 400 grit.
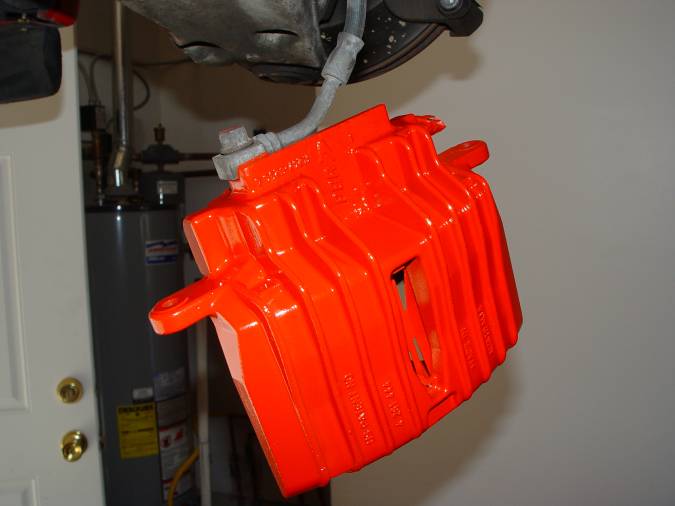
Re-install the calipers and then the wheel/tire assemblies. Here are a couple of pictures of two cars done as per above:
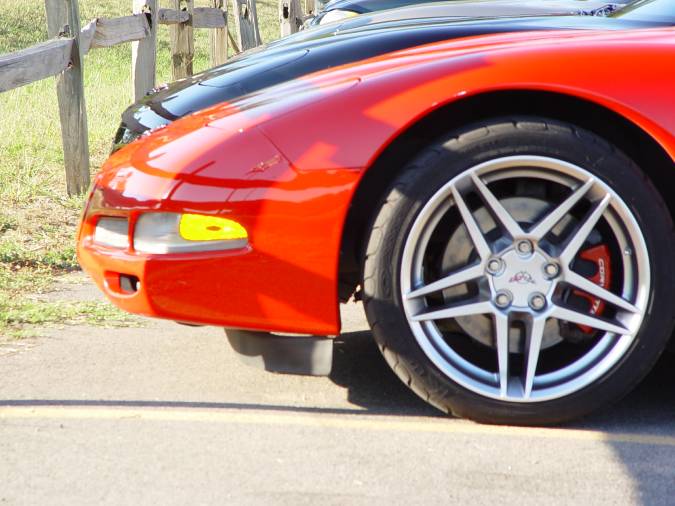
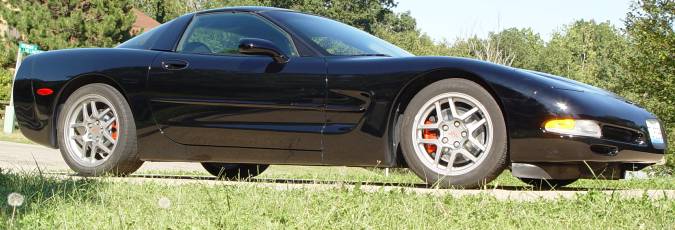
This is a great mod, and it costs about 4 hours of your time, and a modest investment in paint, yet it makes a huge impact on the overall look of the vehicle. Try it!