
Fig. 1 Tools I used to do the job.


Fig. 5 With AIR tube pulled up and away, you can easily pull off the #7 boot.

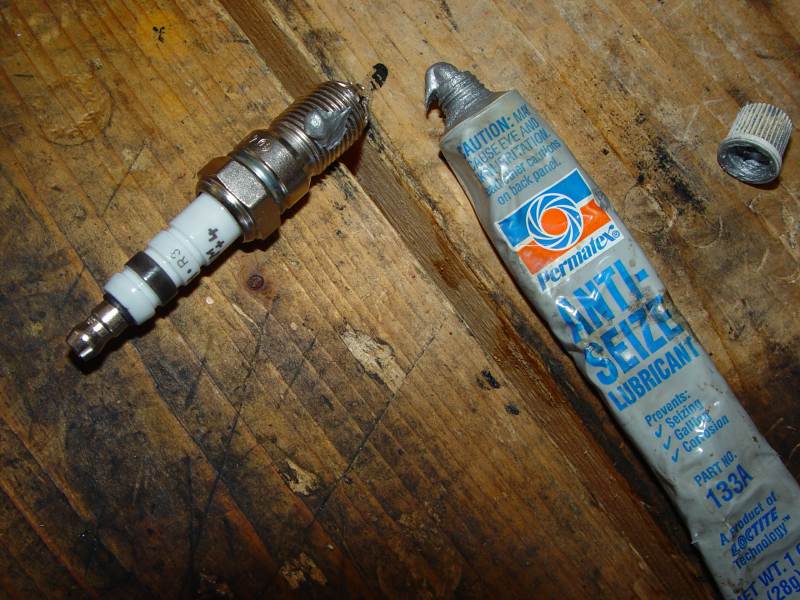

Fig. 11 The factory did not put a lot of grease in the new plug boots...
Contained on the following page is the step by step process, along with tips and hard to find information that we had to find out the hard way, showing how to replace the spark plugs and plug wires on a C5 Corvette.
Special Tools Required:
Fig. 1 Tools I used to do the job.
Fig. 5 With AIR tube pulled up and away, you can easily pull off the #7 boot.
Fig. 11 The factory did not put a lot of grease in the new plug boots...
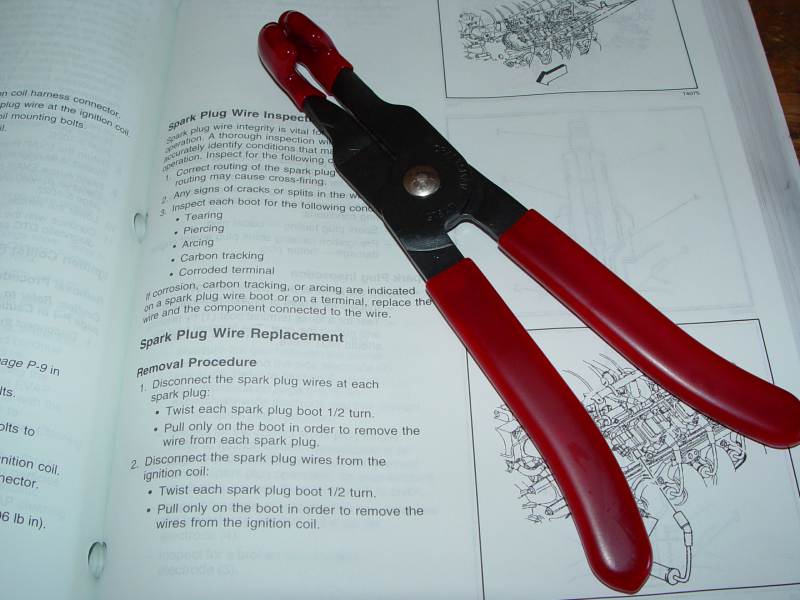
Fig. 2 Spark Plug Boot puller tool. Optional.

Fig. 4 Two 10mm AIR tube bolts - remove these to gain access to the #7 plug.

Fig. 6 I pull off the heat shield and the boot all at once.

Fig. 8 Removing plug 3. Note the curved handled ratchet driver.

Fig. 10 All the plugs with anti-sieze on them.
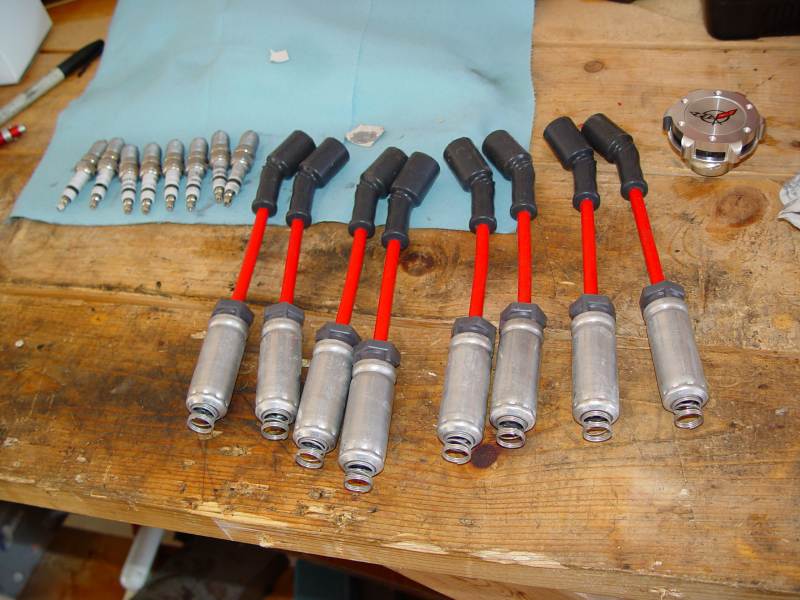
Fig. 12 All plug boots greased, spark plugs with anti-sieze, ready to install.
The plugs and wires on a C5 Corvette are not terribly hard to replace compared to some other cars, but there are a few things that will make the job easier. One thing is some sort of tool to get to the rearmost plug on the drivers side, the dreaded #7 plug!
Old number 7 (no offense to Jack Daniels :^) ) is not that bad, just remove the AIR tube and you'll have plenty of room to get even a regular 3/8" drive ratchet in there. That said, it is a lot easier to do this job if you have buy the cheap ($8) flex-head, curved handled ratchet wrench that I bought from Harbor Freight. Figure 1.
As an alternative to the cheap Harbor Frieght ratchet, some people swear by the Snap-on double-flex socket. Since that is $40, I chose the cheaper tool, but it's your choice.
Another (optinal) tool that may come in handy is a spark plug boot puller pliers, such as my example that was purchased at Sears for $14. Figure 2.
Remove the plastic fuel rail covers by pulling up on the corners of them until they pop out of their clips.
Remove the two 10mm bolts holding the AIR pipe onto the drivers side exhaust manifold. Figure 4.
With the AIR pipe pulled up and out of the way, you can easily reach in and remove the heat shield and plug boot from the #7 plug. Figure 5.
I use my plug boot pullers and pull the heat shield and boot all at once. Figure 6.
Now you can remove the #7 plug. Figure 7 shows my use of the bent handled flex-head ratchet wrench in action.
Continue removing the plugs. Figure 8 shows the number 3 plug being removed. The bent handled ratchet is perfect for this job.
Put a dab of anti-sieze on each plug and work it into the threads and the bevel area. Figure 9.
Figure 10 shows all of the plugs smeared with anti-sieze compound. Now wash your hands! Figure 10.
The new plug wires are not generously greased at the factory, so use di-electric grease to supplement.Figure 11.
All of the plugs and new plug wires ready to go back in. Figure 12.
Install all of the new plug wires, putting the coil-boot on first, then the plug boot. You should feel a "click" as the boot seats on the plug, and on the coil side, you must make sure the spring in the boot goes into the hole in the coil. Some say you feel two clicks, I say just make sure the boot goes back on as far as the old boot was on there. You can sometimes see the dirt-line on the coil from where the old boot was, but just make sure those wires are all on solid.
The plugs need to be torqued to 11 ft lbs. I just tighten them snug, and then give them a 1/4 turn.
Re-install the AIR tube, tighten the bolts to 18 ftlbs. (Tight but not overly tight).
Double check that all plug wires, coil wires and the AIR tube etc are all connected etc.
Start and run the engine, making sure that the car idles smoothly and there are no codes or foul operating symptoms.
Shut off the engine, re-install the fuel rail covers and enjoy your new plug wires and plugs!